I
had whole bunch of yellow and orange strips with me. I could have done
sunflowers with yellow. But, with some gut feeling I went ahead
with orange strips. When I started this project, I really had no idea on
how I fit this on a frame. I wanted to do at-least one flower and wanted
to go real size this time. I could make and assemble the petals with
ease. I
had real difficulty in doing the stamen. Had if I selected the yellow
strips, things would have been more easy. I tried couple of other
combinations before arriving at this one.
27 April 2014
13 April 2014
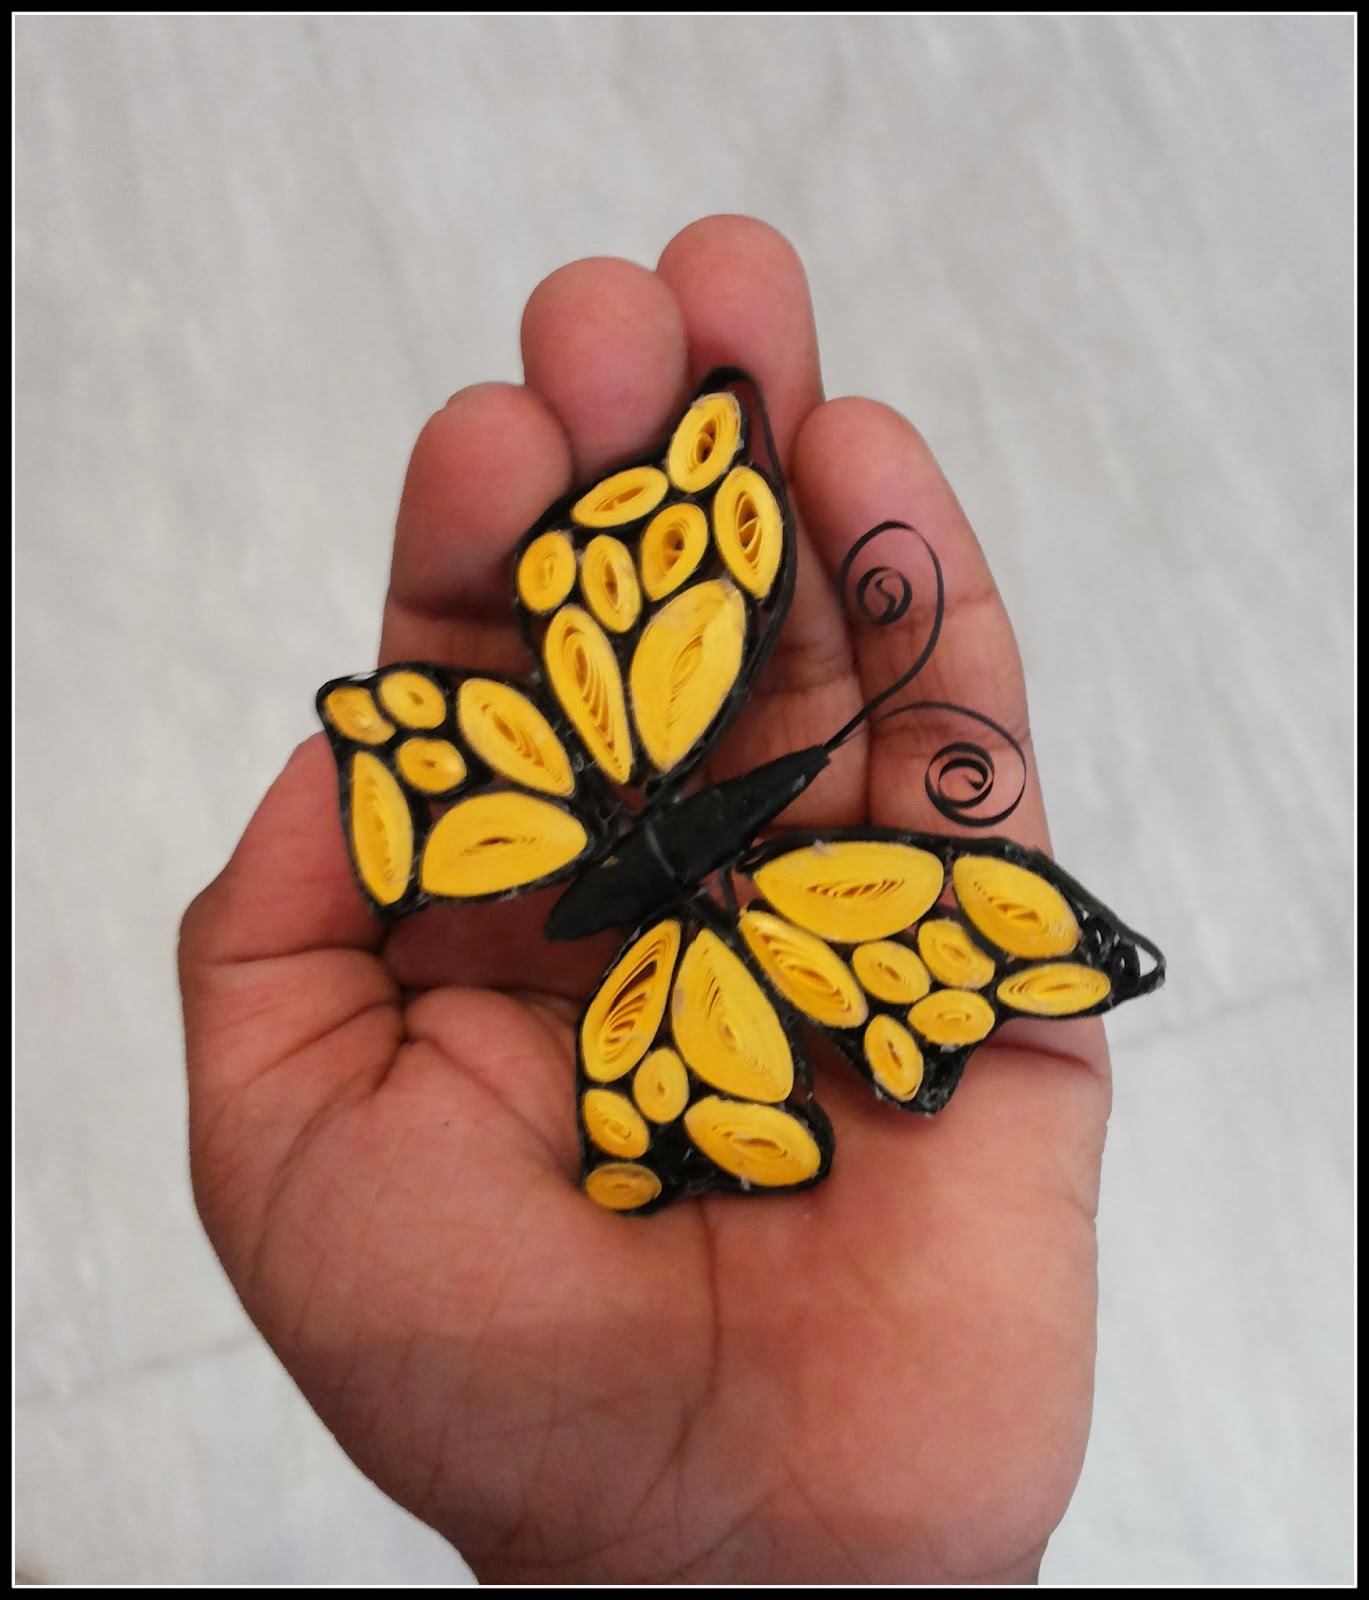
Butterfly
Butterflies
are the nicest things that can be made out of quilling. The patterns on the
skin of butterfly resembles the paper quills. Here is an attempt to make a mono
chrome butterfly.
And
once this is done, I’m looking for some flowers where I can put this on. I
thought of framing the paper Gerberas that I’ve made some time back and add
this beautiful creature on those flowers. Now that I’ve learned to make a beveled
shadow box frame (Thanks a ton to Inn for her wonderful tutorial @ http://increations.blogspot.in/2009/11/nice-paper-frames-instructions-template.html
), I’ve
pasted these flowers and butterfly arrangement into this handmade shadow box
frame. The inside of the paper is A4 size.Thanks
to my elder son who allowed me to use his hand for my photography :)
08 April 2014
3D miniature flower bouquet
On
the way to cafeteria in my work place, I come across a security desk, where
they put up a fresh flower bouquet. It
is very pleasant to see bunch of fresh flowers in various colours and one day,
I felt like preparing one from paper. I borrowed few 10mm strips from my son’s
quilling set and made the roses. For the leaves, I used green dark paper and
fringed it. For the basket, I weaved an old invitation card.
My kids holding
them prettily J
02 April 2014
3D miniature flower pots
Hmm..
It has been quite some time since I did a 3D miniature. Miniatures are always
my favourites. Whenever I am helping my elder son during his study time, rushes
the younger one and makes all attempts to disturb his brother. So, I usually
draw some pictures for him so that he gets engaged in colouring activity. The
flower pots idea popped into my mind when I was doing that exercise for my
kiddo. I wanted to recap all the flowers that I’ve been trying with quilling,
fringed ones, circular patterns, roses, punch craft etc. So, decided to do each
one with a different colour and highlight its pot with the same colour.
Initially, I had struggle in making these flower pots stand properly. After
gluing the plant in the pot, I filled the sides with coffee beans.. They are
firm now. Each pot is approximately 4.5-5cm in height and width is around 3 cm.
Also, for the first time ever, I’ve added watermark on these pictures. I wanted
to add couple more pots to the family in blue/lavender/green. Let’s see when
can I finish that ;)
Here is the one on which I've added a water mark :)
Couple of shots with varying background
Subscribe to:
Comments (Atom)
First IG reel
Reel


